Car Vinyl Decal Application
How To Apply Our Vinyl Decals:
How to Apply Your Vinyl Decal to Windows: (or other smooth nonporous surfaces)
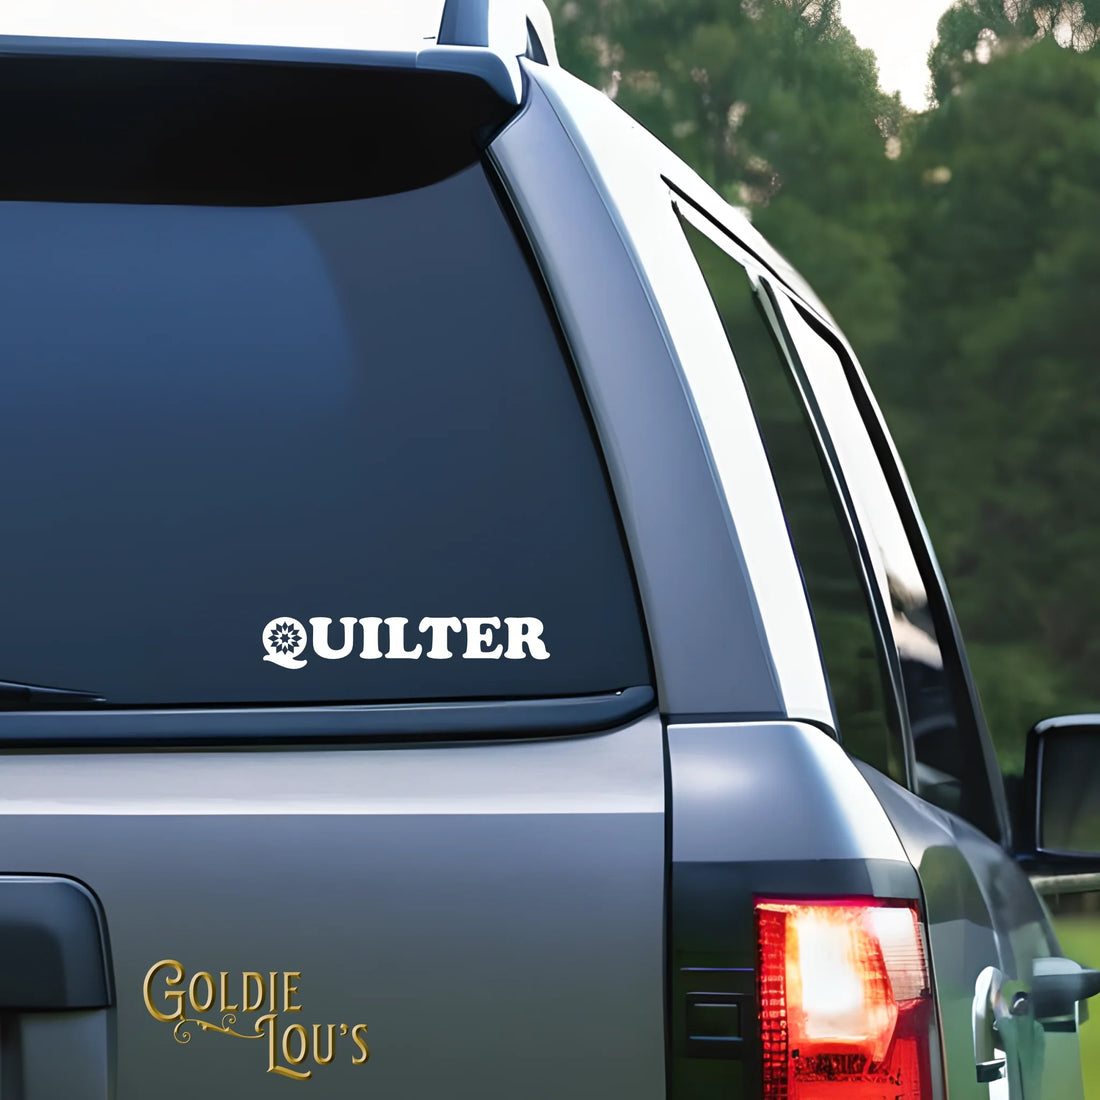
- This decal is intended to be applied to the exterior of your vehicle’s window. However you could apply it to the interior of the car window as long as the reversal of the image is important and you are aware that this is not it’s intended design.
- Decals should only be applied to clean, non-porous surfaces. The smoother the material that your image is applied to, the better the adhesive will adhere, and your image will last longer. If applied properly the average life of your vinyl decal is 3-5 years. Goldie Lou’s is not responsible for damages or losses due to application process, removal, or improper application of your decal.
- Your decal is sandwiched between a bottom layered waxed paper that is it sitting upon, which is often blue or white in color and transfer tape. The transfer tape is low tack tape used to move the decal from the paper and on to your vehicle. It will not stick to your vehicle permanently and will be discarded in the process of applying the decal.
- Your decal works best if applied in warmer temperatures. Optimal application temperature for your decal is between 60-75° F. Temperatures must be at 45° F or above to apply your vinyl decal.
- Please note your decal is removal, but not reusable. Should you remove the decal it cannot be reused.
- Proper preparation and application will extend the life of your decal and help with a clean instillation.
STEP 1: Clean the area where you would like to apply your decal. We recommend washing with soap and water or with rubbing alcohol. Then let the area fully dry before applying the decal.
STEP 2: Measure the location you would like your decal to be applied to make sure it fits. We also recommend placing a horizontal line, via a piece of masking tape above or below your application area to use as a reference line to help in the application of your decal.
STEP 3: Place the decal on a flat surface and carefully peel off the backing paper from the decal, ensuring all parts of your decal stay on the clear transfer tape. If not all of the pieces are transferring to the transfer tape carefully and with a light amount of force rub the back of the paper on to the transfer tape to press the vinyl into the tape. This should help with it sticking to the tape.
Please note. Once you begin placing the decal on your vehicle you will be unable to reposition the decal. Doing so will ruin the decal. if you try to remove the vinyl decal from the vehicle it will be ruined.
STEP 4: Using your guideline from Step 2, while keeping the decal and tape taunt, starting from one edge of the decal, apply the decal to the flat, non-porous surface a little bit at a time. Use your finger to help guide and press any small air pockets out. Carefully and with a light amount of force, rub a stiff card (such as a credit card) over the outside of the tape as you go to assist in adhesion. There should be no bubbles in your decal and it should be well adhered to the surface before exposing the decal to heavy water such as a car wash or it could damage the decal.
STEP 5: Carefully peel the transfer tape back, going back over any areas of the decal that are sticking to the tape from the outside with your fingers or card to help with adhesion, until your clear transfer tape is fully removed from the decal and the surface of your application area.
STEP 6: If there are any air bubbles under your decal that cannot be moved to the edge with your finger or card, they can be pricked with a pin and the air can be forced out of them. It is common to have a few small bubbles remaining after instillation. Usually they will outgas after a few days.
Your new decal will take up to 72 hours to fully cure. Please wait 72 hours before exposing the decal to heavy water such as a car wash or it could damage the decal.


